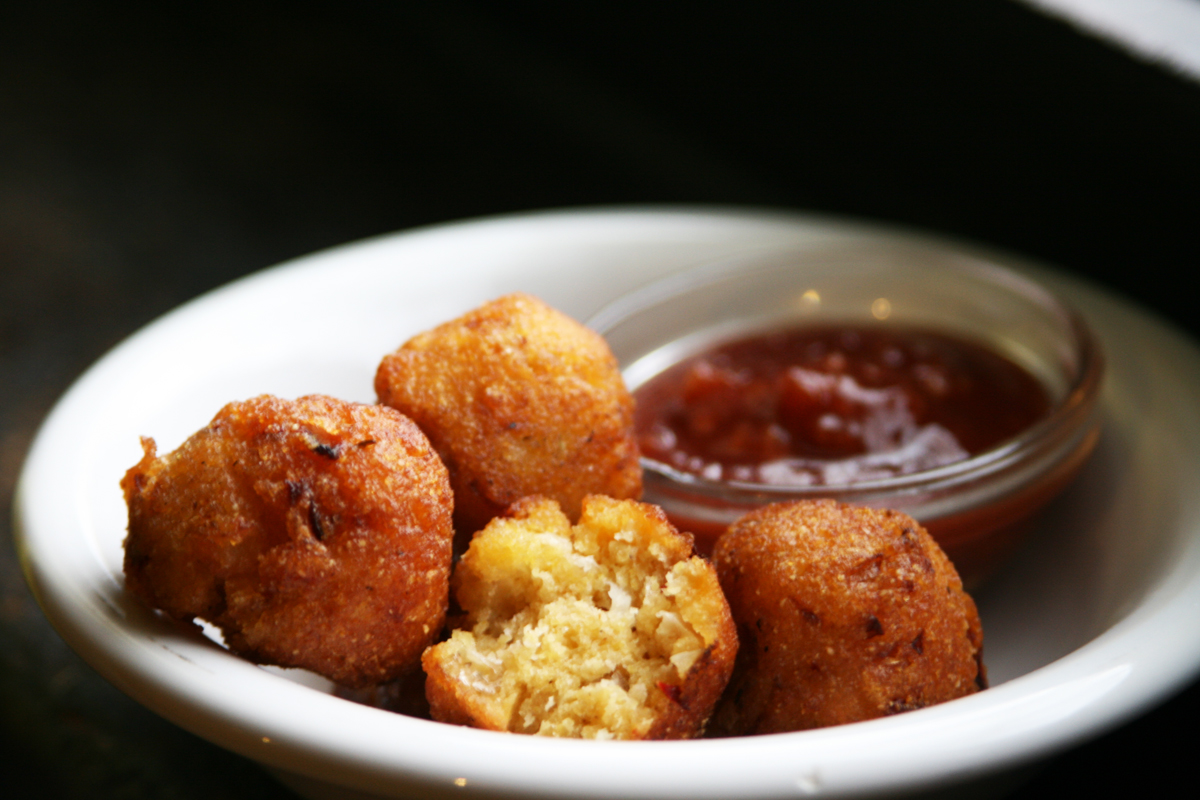
So imagine my forlorn, depressed puppy dog face when I learned in my collegiate days of yore that, sadly, nearly all hushpuppies are made with eggs and/or milk.
Well, rejoice, dear Reader and fellow Hushpuppiophile; we’ve worked up and strenuously tested (all for you) a hushpuppy recipe that is not only completely free of dairy and eggs, it’s also gluten-free. I know. We ARE awesome. Thank you.
Though the etymology of ‘hushpuppy’ isn’t super-well-documented, the origin’s usually attributed to hunters, fishermen, and other outdoorsy cooks who would fry up cheap, easy cornmeal balls to feed their dogs, thus “hushing the puppies” during cook-outs or fish-fries. Which—despite their origin in native cultures of the southern US—may explain the presence of hushpuppies on many a seafood restaurant menu.
But less talk, more food, yeah? Here’s your recipe break-down:
Gluten-Free Vegan Hushpuppies
INGREDIENTS:
◊ 1 cup Cornmeal
◊ 1/8 cup Brown Rice Flour
◊ 1 tb Baking Powder
◊ 1/2 tsp Sea Salt
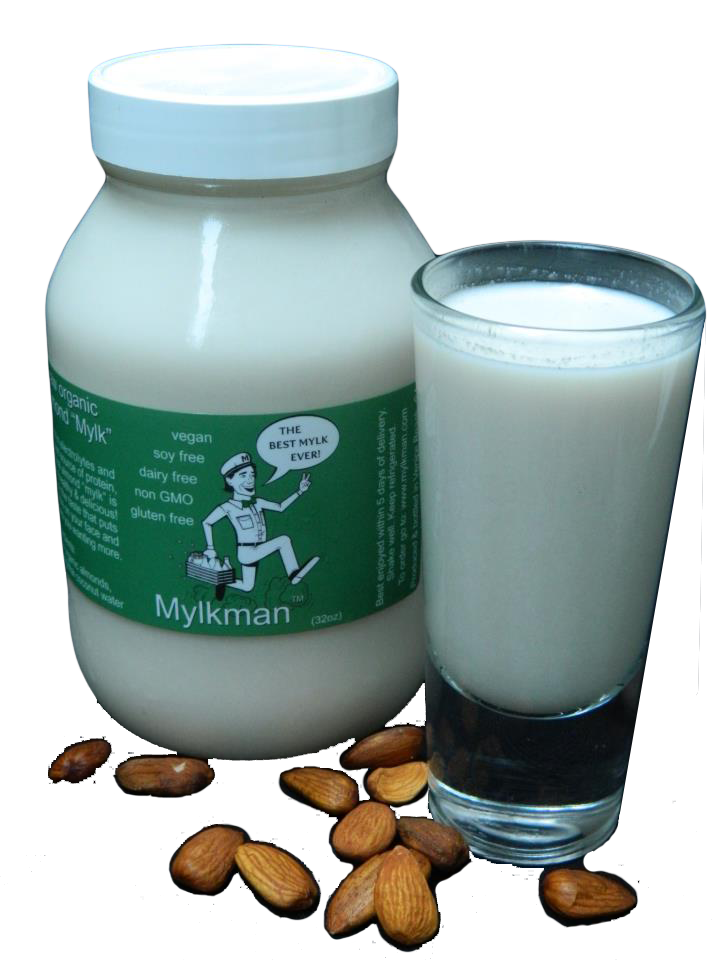
◊ 1/2 cup Unsweetened Almond Milk
◊ 1/8 cup Apple Cider Vinegar
◊ 2 tb Sweet Onion, finely diced
◊ 2 cloves Garlic, crushed + peeled
◊ Vegetable Oil (for frying)
◊ 1 Jalapeño, finely diced

So, first off, the jalapeño’s optional—if you can’t take the heat…no witty kitchen puns are coming to me, but yeah, hold the pepper, Sherlock. We like Bob’s Red Mill for the rice flour and they make a nice coarse cornmeal you can use, but we like the more traditional, old-school brands for that too, so your call.
This recipe is actually a derivation of one posted to Bob’s site ages ago that we’ve continued to develop over the years, recently adding the gluten-free attribute. So, first, rub a mixing bowl with your garlic and then set the garlic aside. Add cornmeal to the bowl and sift in the rice flour, then adding salt + baking powder and mixing thoroughly.
In a separate container—a 1 cup measuring sup tends to work well—pour in almond milk (or another unsweetened milk alternative) and add vinegar. This is meant to replicate the base-sour contrasting taste of buttermilk, so, depending on how much you like that taste, feel free to alter the ratio of milk to vinegar. Set the liquid mixture aside and add your finely diced onion, jalapeño, and garlic (which you’ll now need to dice) to the cornmeal mixture. Now gradually pour in your liquid mixture a little bit at a time stirring as you go until you have a stiff batter. Don’t worry if it seems overly grainy—the cornmeal will absorb moisture as it sits to relax the grain. The primary goal is to make sure the mixture is fairly cohesive. Now cover bowl and refrigerate for an hour or more, until the batter’s spongy.
Once you’re ready to prepare the hushpuppies, warm a light oil—vegetable or canola works well—in a heavy bottom skillet over medium heat with enough oil to half-submerge a ball of batter. It’s best to start with one test puppy, so form a ball of the batter with a spoon and/or your hands and carefully drop it into the hot oil. Watch it attentively and, after a couple minutes, attempt to turn the pup so that the other half of the ball is submerged in oil. If it sticks to the skillet bottom, you either let it cook too long or not long enough. Let the other half cook for another couple minutes and remove from the skillet, placing in a paper-towl-lined plate or bowl. Let the test puppy cool and then cut it in half and give it a try. The outer portion should be golden-brown and you should just make sure the middle is cooked through. If it’s not but your outer puppy—yoga pose?—is browning too much or blackening, reduce the heat. Once you’ve got it down, put enough balls in the skillet to fill without having them touch. Cook, repeat, serve, enjoy. Double the recipe if you have more than two puppies to serve or are just super-hungry.
We like to serve these with homemade cocktail sauce, which, if you didn’t know, is just ketchup mixed with prepared horseradish. Whoever came up with that one, by the way, also needs a stout pat on the back.
UPDATE– According to our friend Megan Hauer—By the way, Charleston claims to be the origin of the hush puppy…the kitchen was often behind the main house (in the carriage house, where the help lived, so to speak). So people would have to bring meals through the alley to the main house, which often elicited much barking from neighborhood dogs. In order to “hush” the dogs, they created hush puppies that they’d throw them from their pockets as they were bringing the meal to the house.
Via Troy & Katie of raven + crow studio – a Brooklyn-born, Los-Angeles-based design studio that specializes in not being jerks.


